
The finished Tacos – Yum!
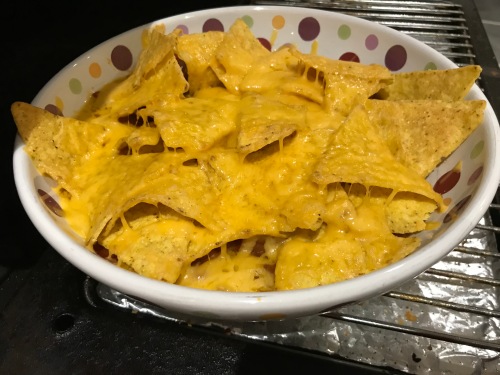
These are from the brand new Pampered Chef Season’s best recipe collection. They really are easy to make and they were gobbled up by the whole family (including my spice averse son!). My only error (I make the mistakes so you don’t have to!) was to not let the mince cook until nearly dry. My mince still had some juice left (see the picture below) which I then proceeded to spoon into the tacos. This made some of them go soggy on the bottom (and who needs a soggy bottom really?!) and the taco didn’t stay in tact which made for slightly tricky eating… we managed though!!!
Ingredients
Tacos
12 crunchy taco shells
75 g medium Cheddar cheese (use straight from refrigerator)
1 onion, quartered
1/2 tablespoon sunflower oil
500 g turkey breast mince
1 packet (30 g – 35 g) taco seasoning mix
100 ml cold water
Toppings
6 tomatoes, deseeded and coarsely chopped (optional)
300 ml soured cream (optional)
15 g fresh coriander, coarsely chopped (optional)
Method
Yield: 12
Per serving: Nutrition information per taco: Energy 730kJ/174kcal, Protein 14.7g, Carbohydrate 8.8g, Sugars 0.9g, Fat 9.1g, Saturated fat 2.4g, Fibre 0.6g, Salt 0.6g
Cook’s Tip: This recipe serves 4 – 6 as a main course with a green salad, or serves 12 as part of Mexican party buffet.
Guacamole can be substituted for the soured cream topping and tomato salsa for chopped tomatoes, if desired.
For a variation, add 1 can (400 g) red kidney beans in water, rinsed and drained, together with the onion in step 4.
© 2014 The Pampered Chef used under license.


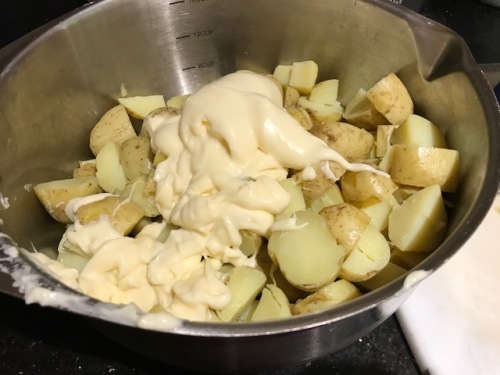
 Following on from the success of sharing my coleslaw I thought I would share the other side salad which is a mainstay of our summers and BBQs! This potato salad is absolutely divine warm but also fabulous cold which means it can easily be made ahead of the day. It is also ridiculously easy – ANYONE can make this and feel proud of their own homemade brilliance!


 Ingredients:


